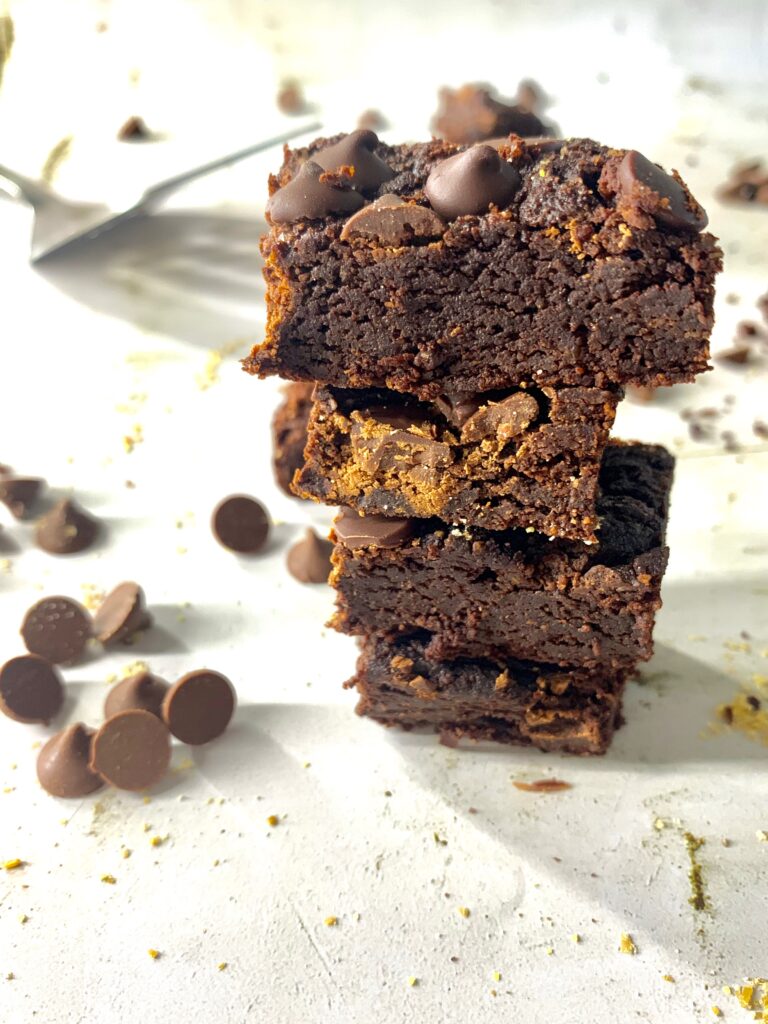
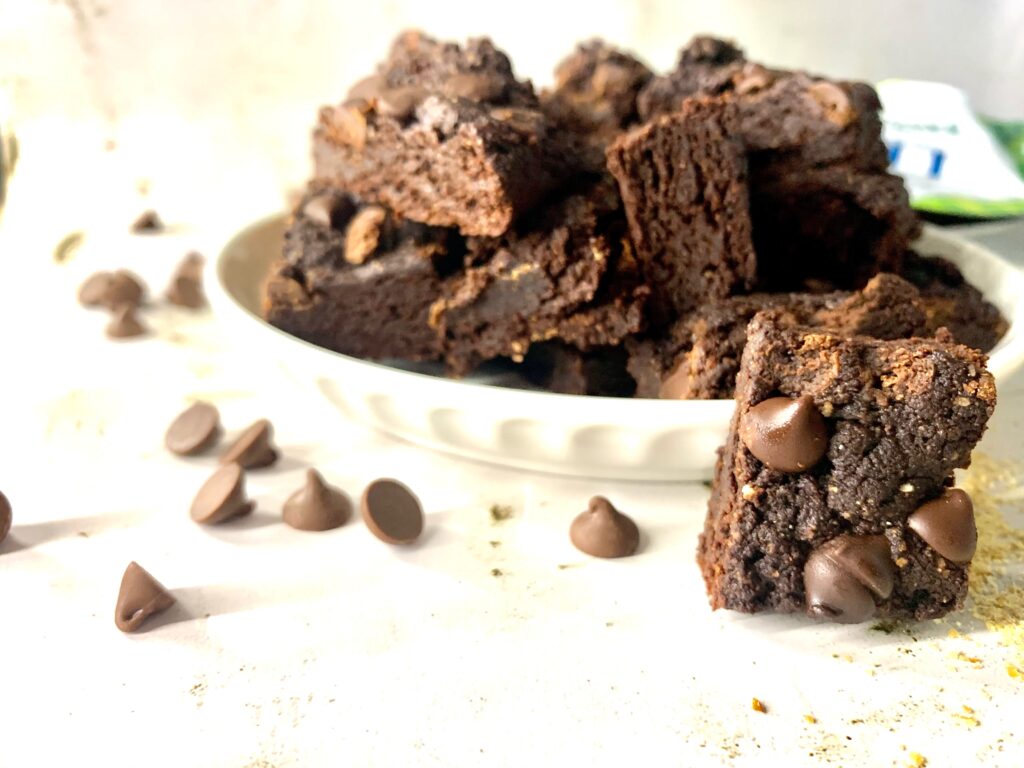
Sometimes its just one of those days when brownies are on the menu for dessert. Sooo, I had one of those days (what am I kidding, I do a lot) and I whipped up a batch of uniquely perfect brownies.
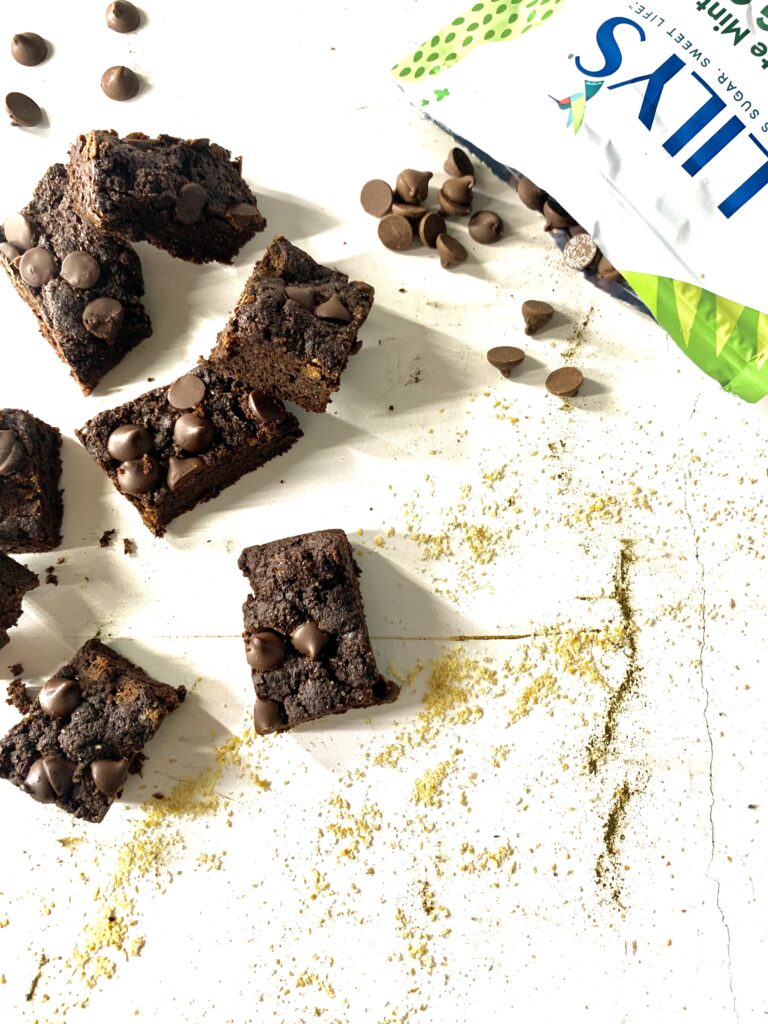
But the best part? The C H O C O L A T E, I mean lately I’ve been into stevia sourced chocolate chips from companies like “Bake Believe” and “Lily’s” and they are incredible because they truly resemble the taste of dark, milk or white chocolate (Lily’s even has peppermint and butterscotch ones), without all the junk, high crap loads of sugar and FSO’s (food shaped objects friends) 🙂 So, yes I used those in this recipe and I suggest you do the same if you want a sugar-free, healthy alternative to chocolate chips in this recipe or in general in your kitchen! Anyways, enough chit chat, let’s get baking!
But what makes this recipe unique? THE FLOUR, yup it’s coconut and it’s like a staple flour in my kitchen. Many of my recipes surprisingly use coconut flour as a base, sometimes mixed with others or individually. It’s a pretty simple batter when it comes to the basics, but you may have to take a trip down the weird gluten-free section on amazon to find the extra ingredients.

It’s a real delight to be able to whip these babies up using simple sourced ingredients like coconut flour, stevia and flax meal. You know, back in the 90’s this was a foreign concept, AND almost impossible to make them tasty. Even now, its a real talent to make these taste good and healthy. It’s taken me one trial by error after the other and I think I finally NAILED IT this time. I’m more anxious to sweeten your taste buds, so keep scrolling!
Once you preheat the oven to 365 degrees (180 C), you’ll mix all those dry and wet ingredients together and place in the oven for about 20-25 minutes. The beauty with this recipe too, is that you have the power to make your choice when it comes to what milk you use and control how much sweetness is added.
You’ll also want to remember to use a coconut oil greased pan or lined with parchment paper to prevent sticking and eat as soon as they come out of that oven. Well, not to soon that you burn your tongue off but you get the idea. Happy Baking and let me know what you think in the comments! Kind criticism is welcome here at “HH”, so type away! I love to heat from you!
Guiltless Gooey Fudgy Brownies (GF+V)

Gluten-Free, Vegan and low sugar with the right amount of sweetness. The perfect brownies, gooey and melty in the mouth and crispy to the touch!
Ingredients
- 1 Cup Coconut Milk or Non-dairy milk of choice
- 3 Tbsp Ground Flax Meal
- 9 Tbsp Water
- 1/3 Cup Chocolate Chips (I use "Lily's Stevia Chips)
- 1/3 Cup Maple Syrup
- 3 Tbsp Melted Coconut Oil
- 2 Tsp Vanilla Extract
- 3/4 Cup Coconut Flour
- 3 Tbsp Tapioca Starch or Arrowroot Starch
- 1/4 Tsp Baking Soda
- 1/4 Tsp Baking Powder
- 1/2 Tsp Sea Salt
Instructions
1. Preheat the oven to 365 degrees F / 180ºc.
2. Heat coconut milk to bring it to a boil, then pour into to a bowl. Add the flax meal and chocolate chips and let sit for minute. Then mix well to melt to a smooth consistency.
3. Add the maple, oil and vanilla extract, and mix well. Then let sit for 5 minutes.
4.In another bowl, add coconut flour, starch, baking powder and soda and salt. Whisk well and thoroughly!
5. Add dry to the wet ingredients and mix well to combine! Fold in the chocolate chips. Taste and add more sugar if your taste buds desire
6. Transfer batter/dough to greased or parchment lined pan using coconut oil to grease. Pat down to flatten the batter.
7. Bake at 365 degrees F / 180ºc for 24 to 25 minutes. Cool for 10 minutes before slicing.
8. Remove once a crispy, yet soft inside texture has been reached, slice and DIG IN!
Notes
1. Keep in mind that the batter will have more of a spongy soft dough and it will continue to dry out. Do not let it sit for long until placing in the oven, bake immediately!
2. Also, if you're using smaller multiple pans, try to bake for 18 to 20 minutes. These brownies are the best when served warm right after removing from oven. Store on the counter for a few hours and refrigerator for a few days. Reheat before serving.